1
Navigate to Workers Page
Navigate to the Workers page in the Admin Dashboard and click the Add Worker button located at the top right of the table.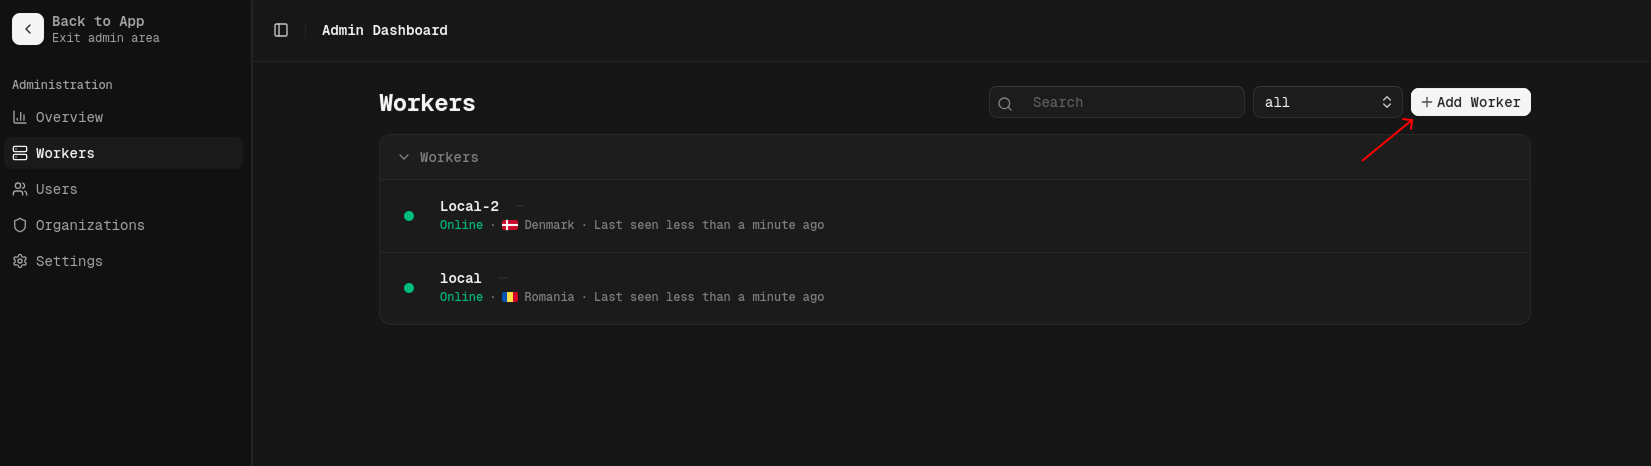
2
Create New Worker
In the dialog that appears, fill in the details for your new worker: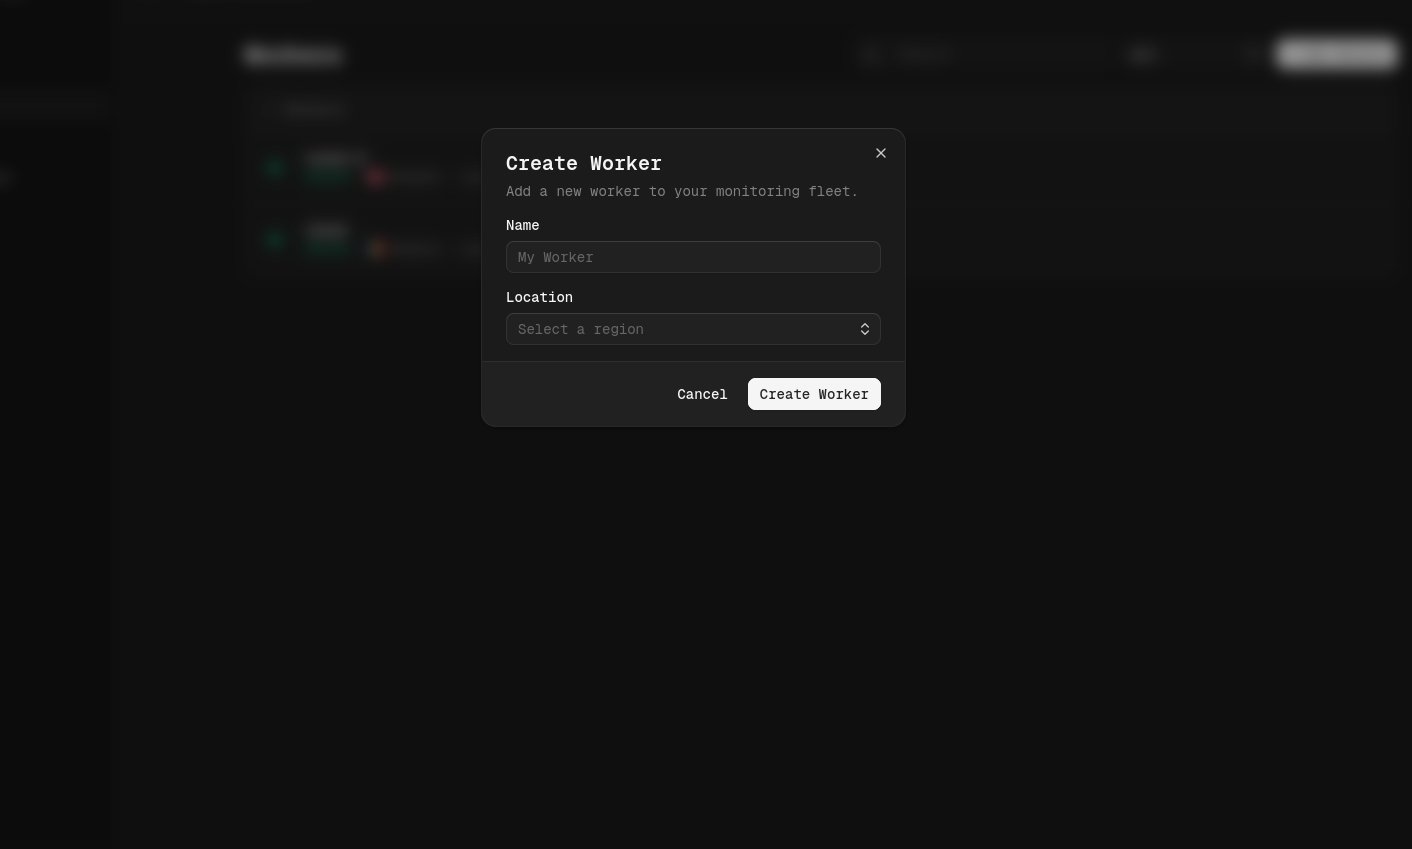
- Name: A descriptive name for your worker (e.g., “US East Node”).
- Location: Select the Country where your worker is hosted (e.g., “Romania”, “Belgium”). This helps in identifying the source of monitoring requests and providing accurate latency data.
3
Save API Key
Once the worker is successfully created, a confirmation dialog will appear displaying your new API Key.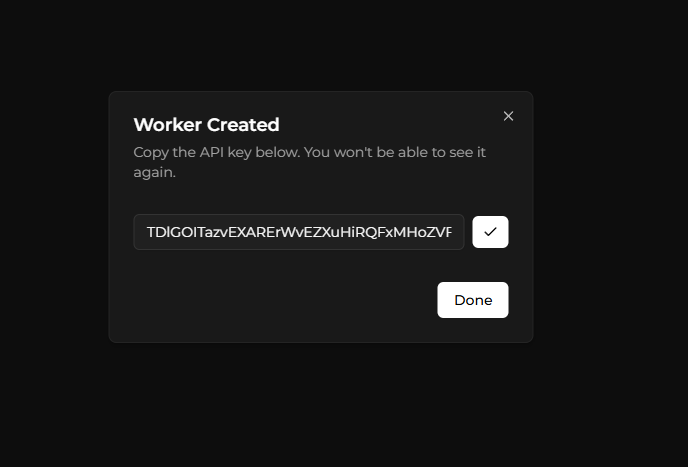
- Click the Copy icon next to the API key field to copy it to your clipboard.
- Store this key safely. You will need to set it as the
WORKER_API_KEYenvironment variable when running your worker instance. - Click Done to close the dialog.
Next Steps
With the API Key generated, you are ready to launch your worker.- Install the Worker: Learn how to run the worker using Docker.